What You Can Do After Creating a Shipment
The starting points after creating a shipment, and what each one needs.
- ForPeople who have just created a shipment
- Task timeAbout 3 min
- Video1:21
- Last checked2026-10-22
Overview
There is no compulsory order. Choose where to begin: Setup, uploading documents, preparing documents, inviting people, or payments and progress.
What you'll learn
- The starting points on a new shipment
- Which tasks need saved Setup values
- Where each task lives
Before you begin
- A shipment you can open Create Your First Shipment
Step-by-step guide
Choose where to continue
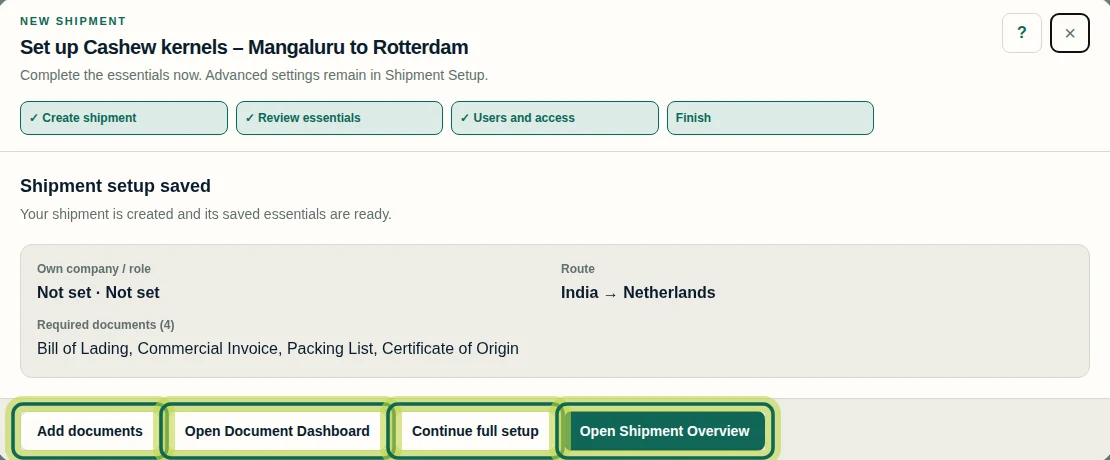
The last step of the setup guide offers Add documents, Open Document Dashboard, Continue full setup and Open Shipment Overview. There is no fixed order.
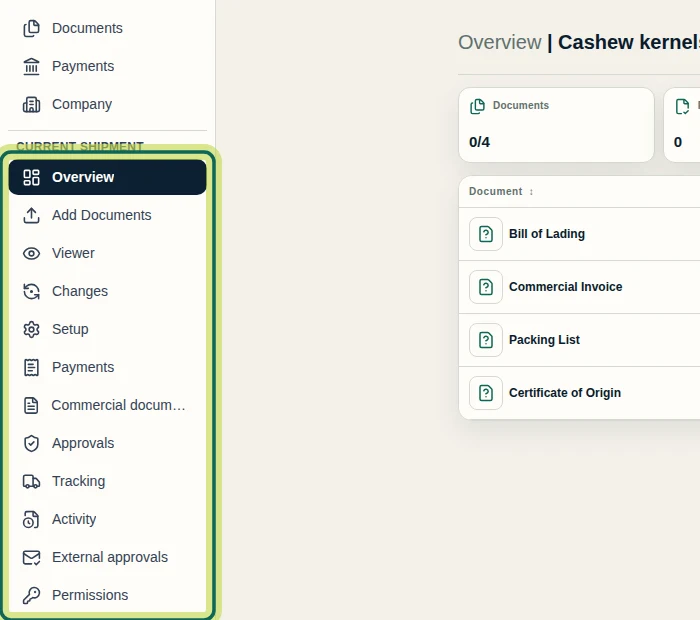
Step 1 Use the shipment menu
Each shipment has its own menu. Select the menu button at the top left to see every area by name: Overview, Add Documents, Viewer, Changes, Setup, Payments, Commercial documents, Approvals, Tracking, Activity, External approvals and Permissions.
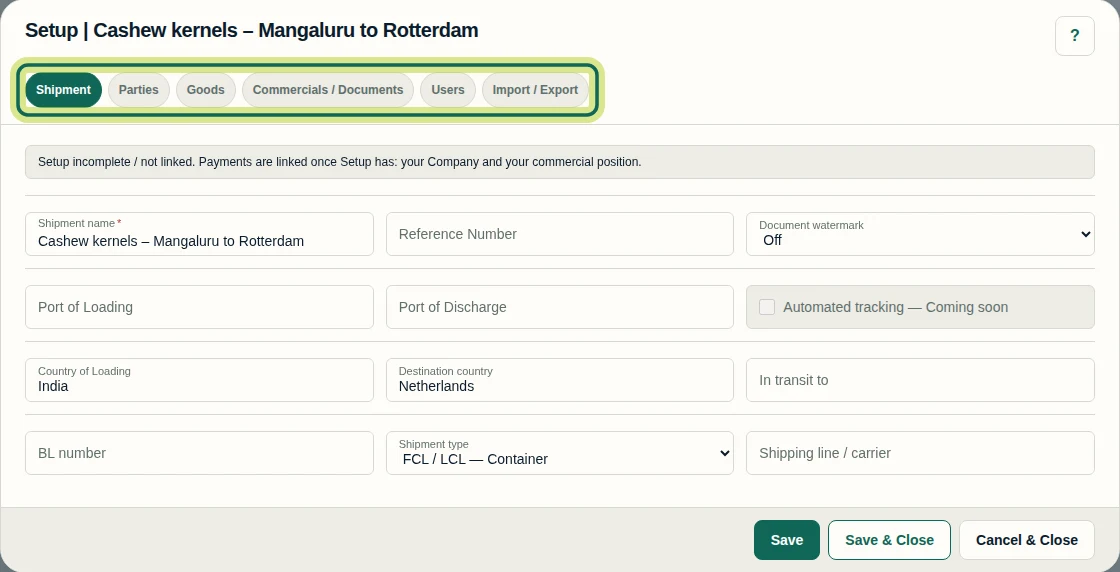
Step 2 Setup
Setup holds the shipment's details, with tabs for Shipment, Parties, Goods, Commercials / Documents, Users and Import / Export.
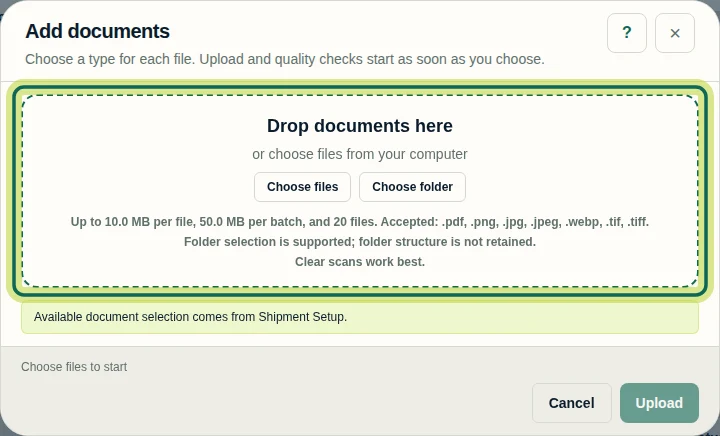
Step 3 Add Documents
Add Documents uploads your shipping documents. Choose a type for each file; upload and quality checks start as soon as you choose.
Step 4 Commercial documents
Commercial documents is where you prepare contracts, invoices, packing lists and more. Select Create document, or + Add under a document type.

Step 5 Payments and tracking
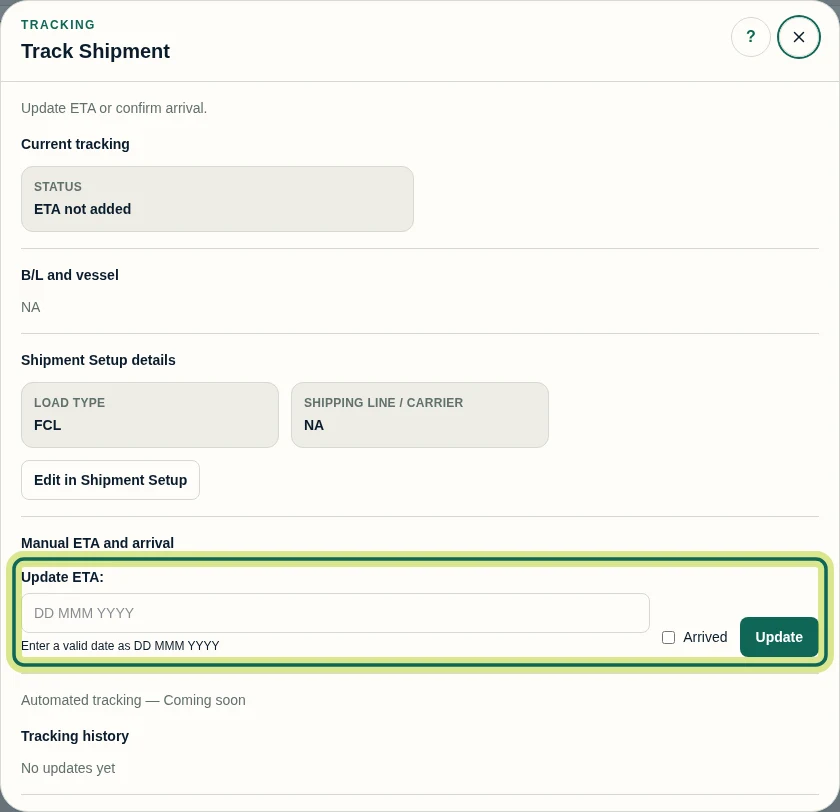
Payments shows the shipment's invoices and transactions; they are linked once Setup has your Company and your commercial position. Tracking lets you add the ETA or confirm arrival yourself; automated tracking is coming soon.
Step 6
Expected result
You know which task to start with and which tutorial explains it.
Next tutorial
Was this helpful?
If something did not work as described, tell us and we will help.